What Is a Hair Rig? (Definition & Purpose)
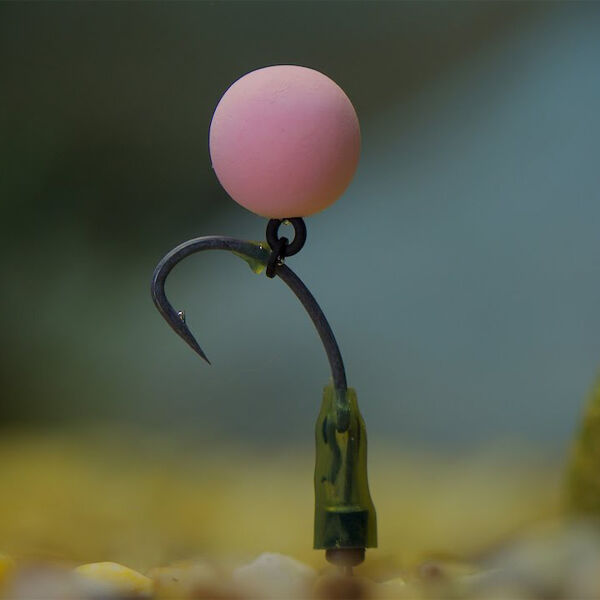
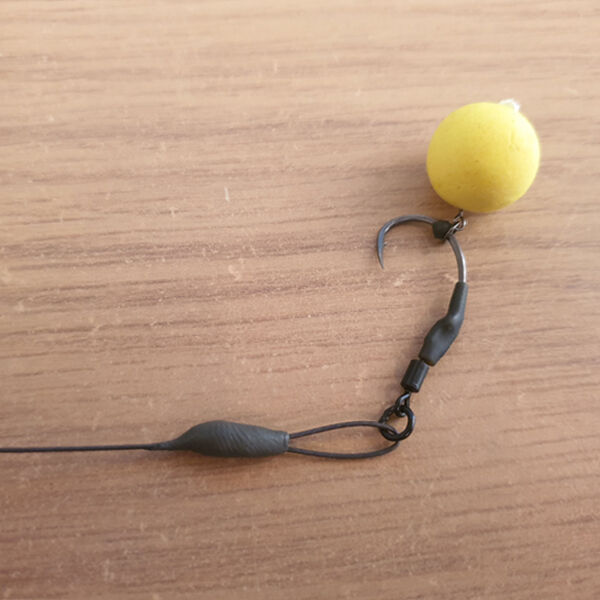
A hair rig is a carp fishing rig that holds the bait on a short loop of line — the hair — positioned behind the hook. The intent is to keep the hook point fully exposed so that when a fish sucks the bait in and tries to eject it, the hook can catch in the mouth, often producing a self-hooking action.
Why use a hair rig?
- Encourages self-hooking, reducing missed takes.
- Reduces internal or gut hooking, making unhooking safer.
- Works with a range of baits: boilies, pellets, sweetcorn, pop-ups and imitation baits.
Materials You Need
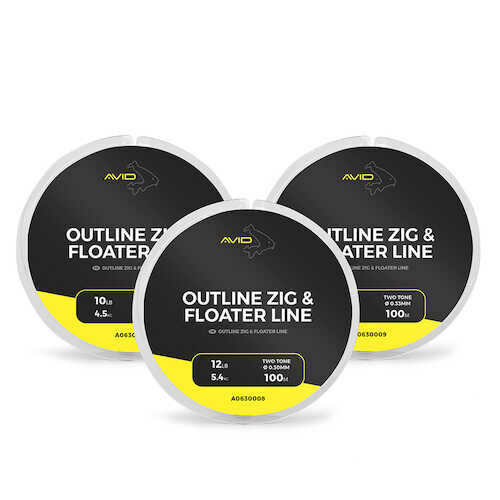
- Braided hook-link material — ~12–14 in (30–35 cm) recommended
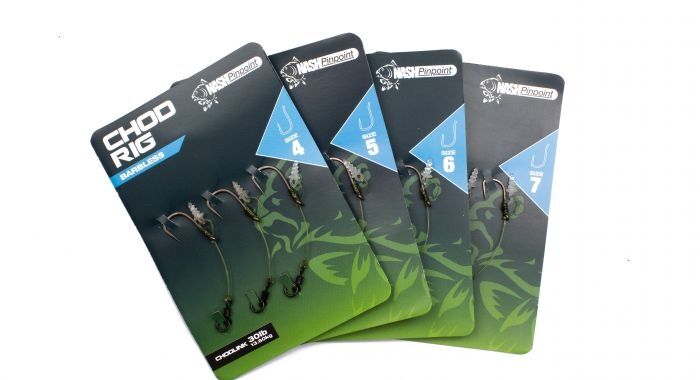
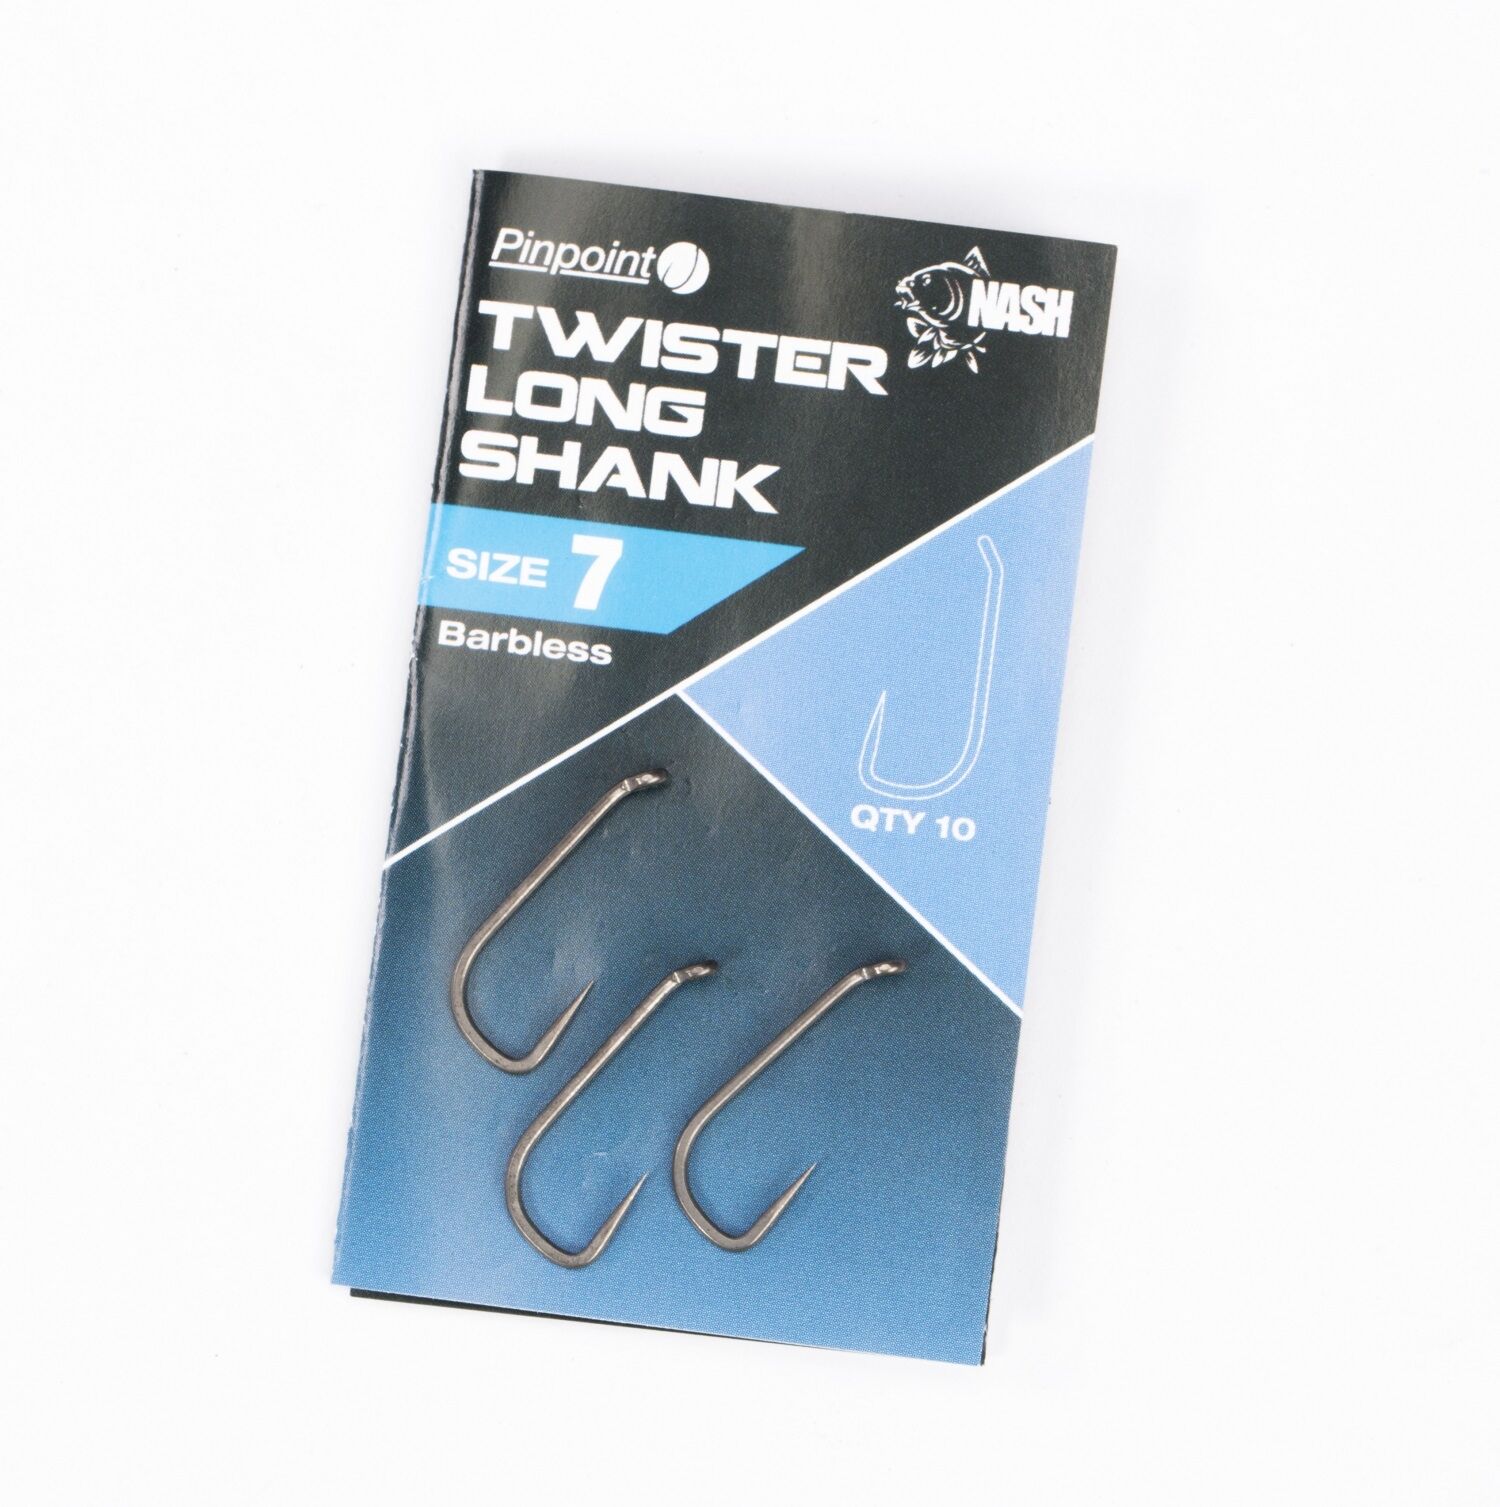
- Wide-gape hook (carp hook styles)
- Sharp scissors
- Baiting needle or rig needle
- Hair stop (tiny rubber stopper)
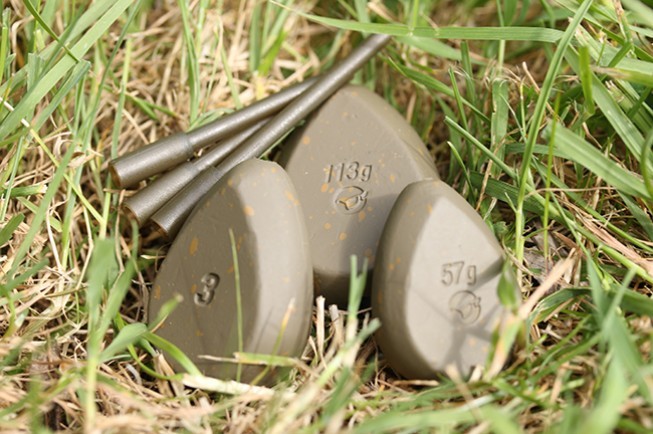
- Optional: tungsten putty for sink and orientation
Step-by-Step: How to Tie a Hair Rig
Step 1 — Prepare the Hooklink
- Cut approximately 12–14 inches of braided hooklink.
- If the braid is coated, strip the coating from one end (about 4–6 cm) to make knotting easier.
Step 2 — Form the Hair Loop
- Tie a small overhand loop knot near the stripped end — this will be the hair loop for your bait.
- Trim the tag end so there's ~1–2 mm remaining.
- Make the loop slightly smaller than the bait so the bait sits securely once mounted.
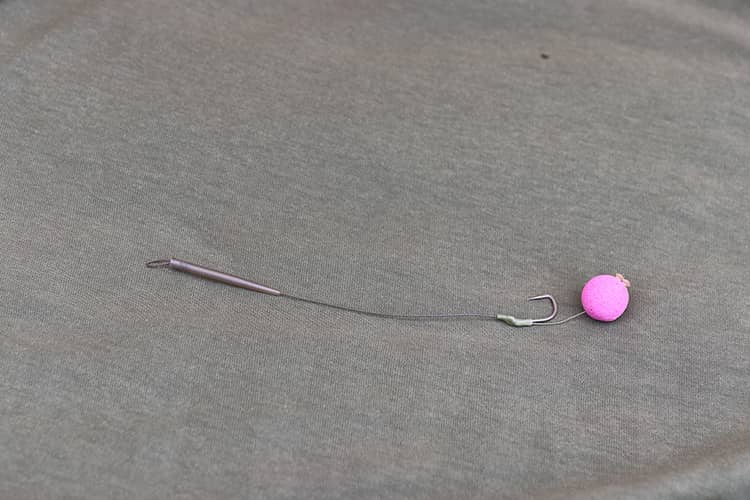
Step 3 — Add Your Bait
- Slide the bait onto your baiting needle.
- Use the needle to place the bait onto the hair loop.
- Secure the bait with a hair stop so it cannot slide off.
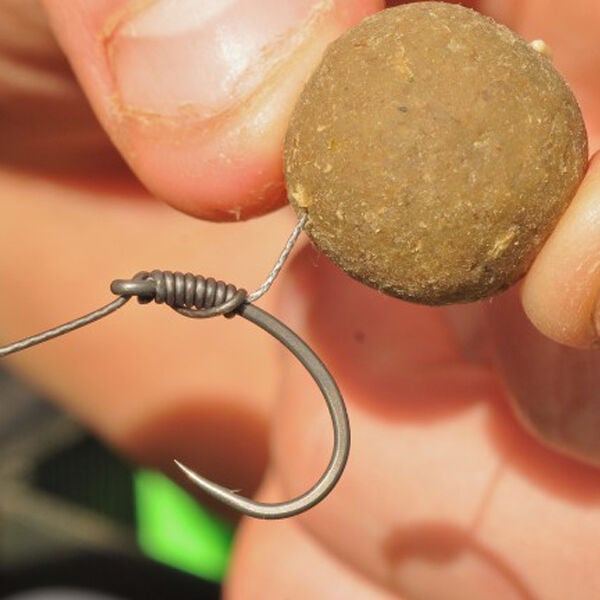
Step 4 — Attach the Hook with a Knotless Knot
How to tie the knotless knot (common method):
- Pass the free end of the braided hooklink through the back of the hook eye (from rear to front).
- Pull down so the hook sits close to the bait, leaving ~5 mm gap between bait and eye.
- Wrap the braid around the shank of the hook 7–8 times, moving down the shank.
- Pass the end back through the hook eye and pull tight so the wraps are snug to the shank.
- Ensure the hair runs off the back of the hook and is not twisted around the shank.
Step 5 — Add a Termination Knot
- Tie a small loop (figure-of-eight loop, simple loop or similar) at the tag end to connect to your main line, lead clip or swivel.
- Trim any excess tag end cleanly.
Step 6 — Optional Enhancements
- Apply a small piece of tungsten putty under/just below the hook for better sink rate and hooking angle.
- Use PVA mesh bags or a few micro pellets around the hook to add attraction on the lake bed.
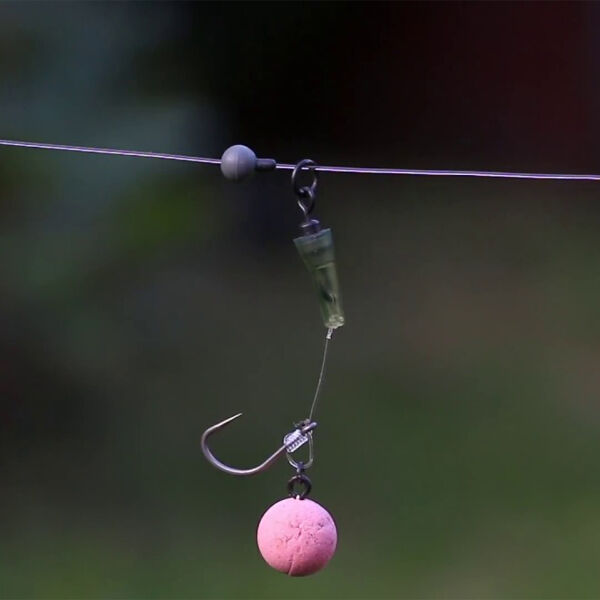
Fishing With a Hair Rig
Cast the hair rig to your chosen swim and allow it to settle on the bed. Because the bait is presented slightly away from the hook point, carp often suck it in and attempt to spit it out — this motion, combined with line tension and weight, often triggers a self-hooking response.
Frequently Asked Questions (FAQs)
- Q: How long should the hair be?
- A: The hair should be slightly shorter than the bait length to prevent the bait from touching the hook directly. Adjust length depending on bait size and presentation preference.
- Q: Can I use this rig for species other than carp?
- A: Yes — hair rigs can be adapted for barbel, catfish and other bottom-feeding species. Change hook size, hair length and bait type per species.
- Q: Why use braid instead of mono for the hooklink?
- A: Braided hooklink is often preferred because it knots well, has minimal stretch (improving hook movement), and allows confident wraps around a hook shank for knotless knots.
- Q: Will using a hair rig increase my catch rate?
- A: Many anglers report improved hooking efficiency with correctly tied hair rigs, particularly for carp. Success depends on bait, hook choice, and correct tying technique.
Glossary of Key Terms
- Hair Rig
- A rig that presents the bait apart from the hook, using a short loop (hair) so the hook point remains exposed.
- Knotless Knot
- A method to attach a hook to the line that uses wraps around the hook shank rather than a conventional knot around an eye.
- Baiting Needle
- A tool used to thread baits (boilies, pellets, imitation baits) onto the hair loop or hook.
- Hair Stop
- A small rubber or silicone stopper used to secure the bait on the hair loop.
Final Tips for Better Results
- Practice tying the rig until the knotless knot and hair position are consistent.
- Use quality braided hooklink for consistent performance.
- Test the rig by dragging gently across your palm — a correctly tied rig will flip and hook predictably.