How to Tie a Ronnie Rig: A Total Fishing Tackle Rig School
- By Andy Grenfell
- |
- 6 December 2019
What is a Ronnie Rig?
A Ronnie Rig is a popular carp fishing rig designed to present a pop-up bait just off the bottom of the lake or riverbed in a very effective and natural way. It's known for being highly effective for catching wary, big carp due to its excellent bait presentation and quick hook-turning mechanics.The Ronnie Rig has accounted for thousands and thousands of monster carp since its popularity skyrocketed a few years ago. We have had many people ask for a blog post on how to tie a spinner ring, and we have asked our resident angling expert, Andy Grenfell, to show you how he does it.
I tend to use the Ronnie Rig one of two ways, either with a very stiff boom that I crimp to the hook section or with a more flexible boom section, such as a coated braid that I tie using conventional knots. Both have their place, but if there is any debris on the bottom, then I will always go for the more flexible hooklink material to avoid the rig lifting off the bottom. Constructing the Ronnie Rig is fairly straightforward, but first of all, let's take a look at the components we need:
Materials Needed For Ronnie Rig
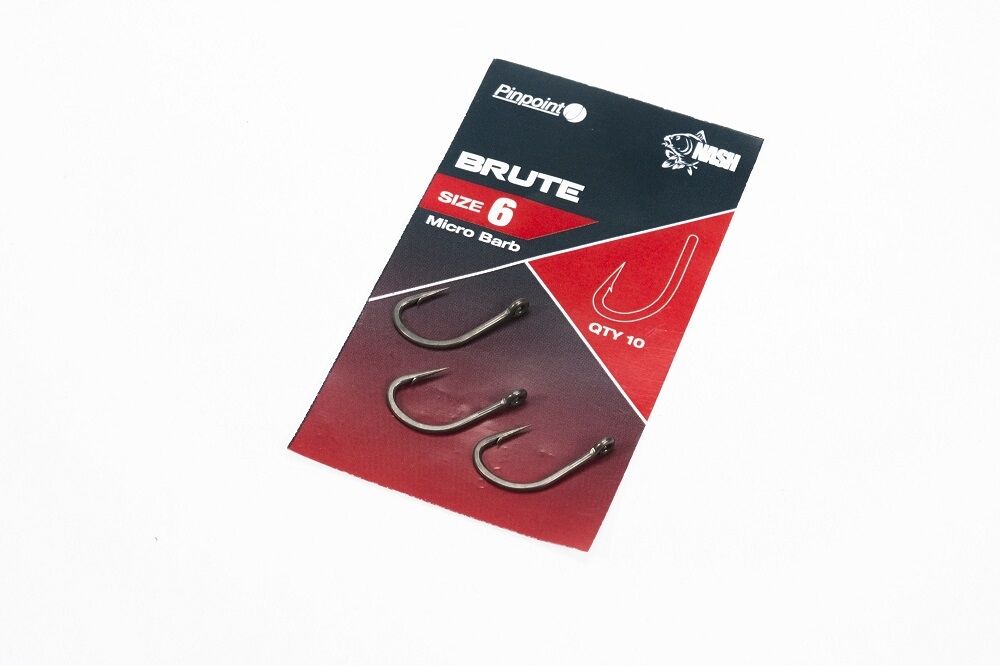
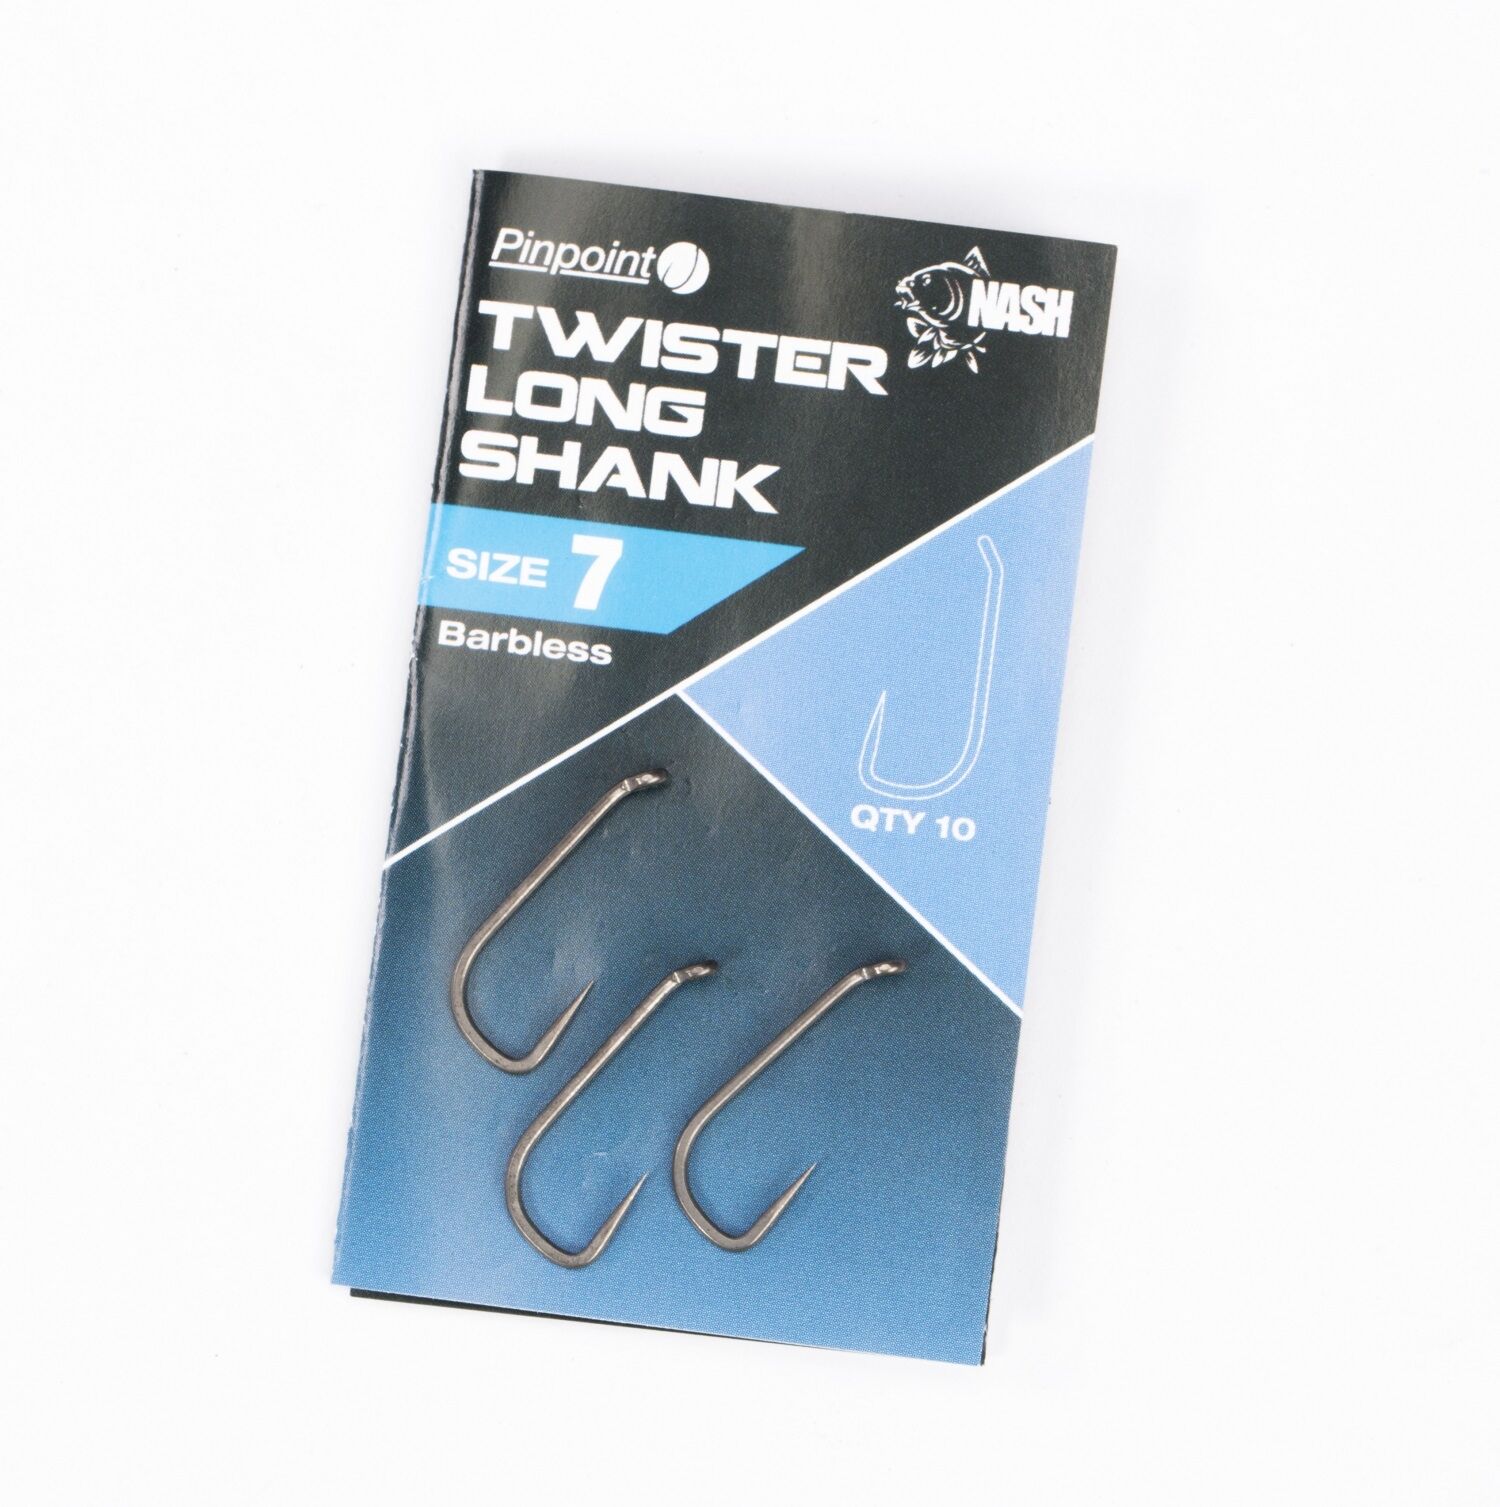
- Hooks
- Spinner swivels
- Kickers
- Hook ring swivels
- Hook beads
- Hooklink material
- Crimps and crimping tool if using the Boom material.
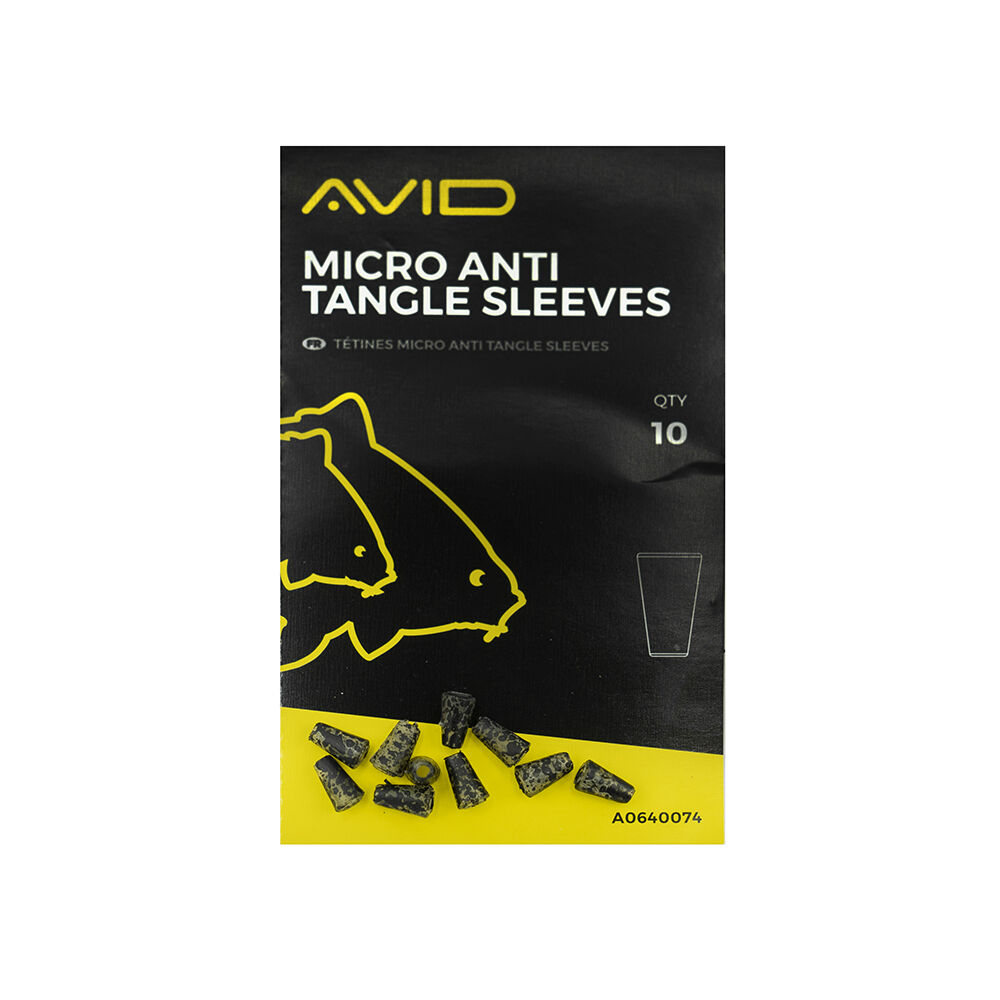
- Hooklink sleeve
- Bait floss
- Baiting needle
- Hair stop
- Scissors
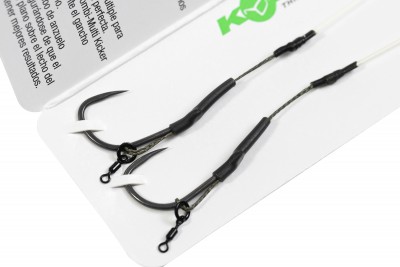
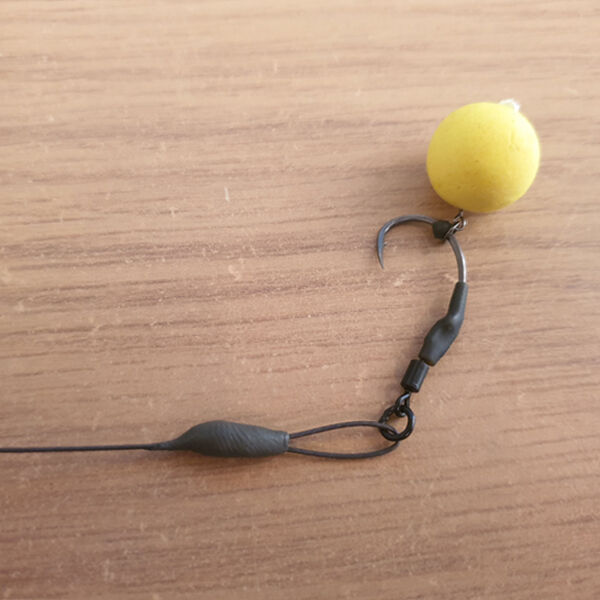
Step 1: Attach a spinner swivel to the eye of the hook
Step 2: Slide On The Kicker
Cut down a medium kicker sleeve by about 5mm and slide over the eye of the hook wide end first (the thinner end should be closer to the hook point).Step 3: Cover The Hook & Swivel
Slide the kicker sleeve around the hook until it covers the swivel like in the photo.Step 4: Apply The Hook Ring Swivel
Slide a hook ring swivel over the point of the hook, followed by a hook bead (I like mine positioned opposite the barb of the hook.Step 5: Cut & Attached Braid
If using a coated braid for a semi-stiff boom, cut off 12 inches of coated braid and thread it through the eye of the swivel that is attached to the hook.Step 6: Tie On The Swivel
Tie the swivel onto the coated braid using an overhand knot, make sure the loop of the knot is between 1 and 2 cm in size. Moisten down the knot and trim the tag ends nicely and tightly. Many people say that you have to use a figure-of-eight knot here, and that's fine, but I have tested this way and never had a knot give way or slip.Step 7: Thread A Hook Link Sleeve On
Thread a hooklink sleeve onto the other end of the coated braid and tie another figure-eight knot in that end, making sure you set the length of the rig. Moisten down and trim the tag end.Step 8: Apply Hook Bait With Bait Floss
Take a length of bait floss and tie on your chosen pop-up. I like to thread the bait onto the hair and secure with a hair stop, tie off with a couple of granny knots, and blob with a lighter.Step 9: Ensure Bait Is Balanced
Ensure the bait is balanced by adding putty to the knot on the coated braid closest to the hook; you want the pop-up to flutter down and be just held on the bottom.Step 10: Steam The Hooklink
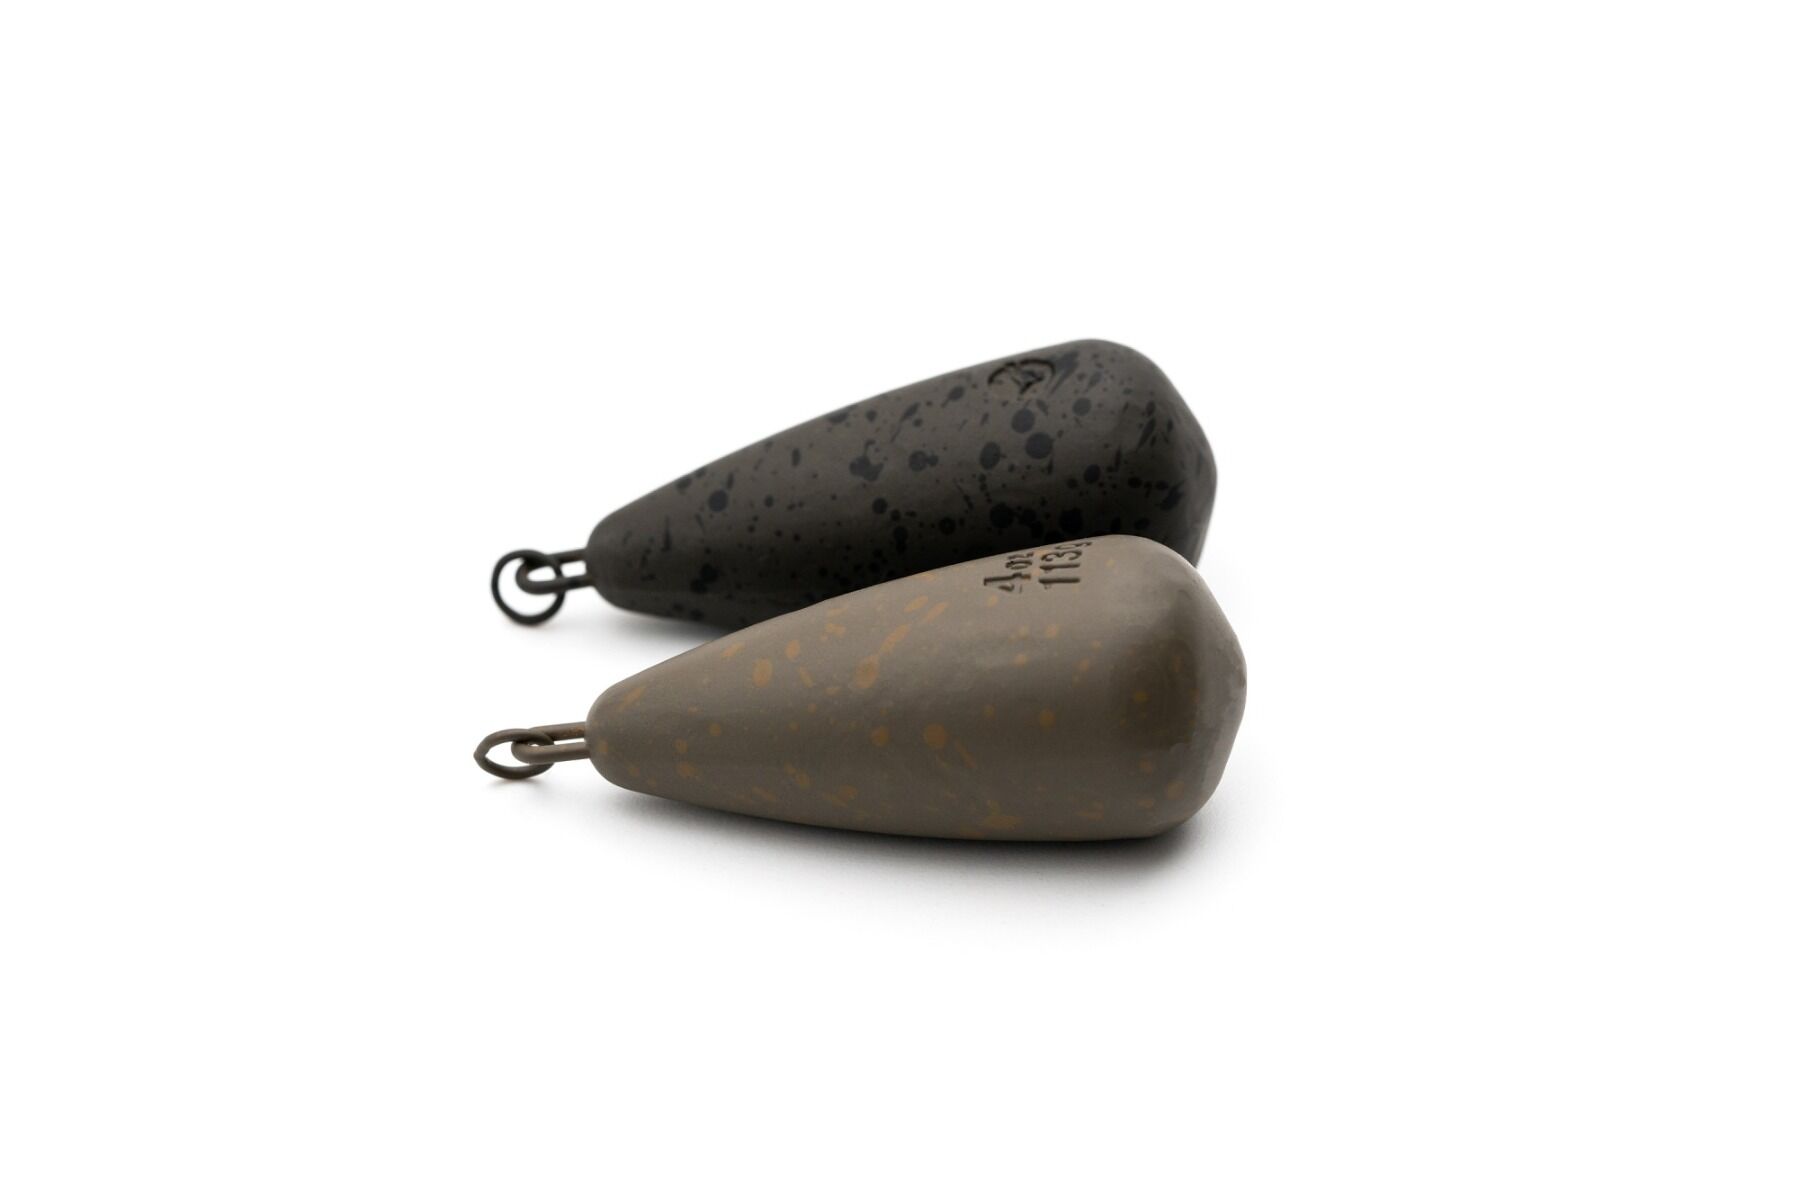
Steam the hooklink straight over a boiling kettle (be careful not to burn yourself), and you can then attach the rig to your lead setup and away you go! Looking to buy the bits and pieces needed for the Ronnie Rig? Get everything in our Terminal Tackle section on our easy-to-use website!
Related Posts
 February 10, 2026
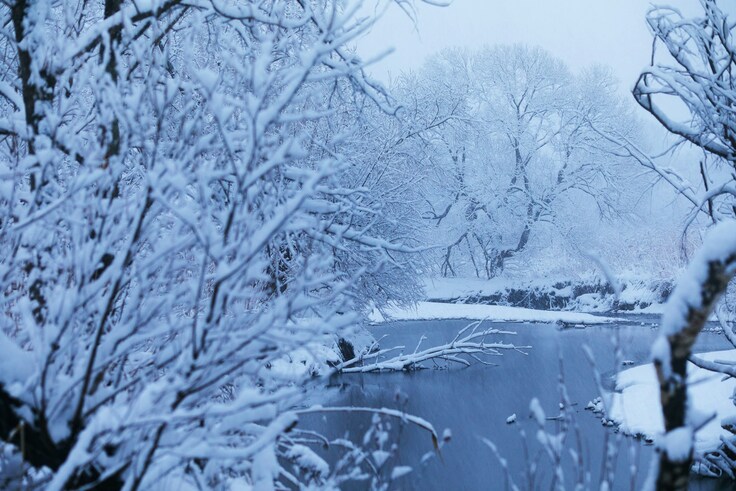
Guide to Carp Fishing in Winter: Tips and Tactics
Winter can be just as challenging as it is beautiful for carp anglers. While many anglers hang up their rods during the colder months, winter carp ...
Read more
February 10, 2026
Guide to Carp Fishing in Winter: Tips and Tactics
Winter can be just as challenging as it is beautiful for carp anglers. While many anglers hang up their rods during the colder months, winter carp ...
Read more
 January 26, 2026
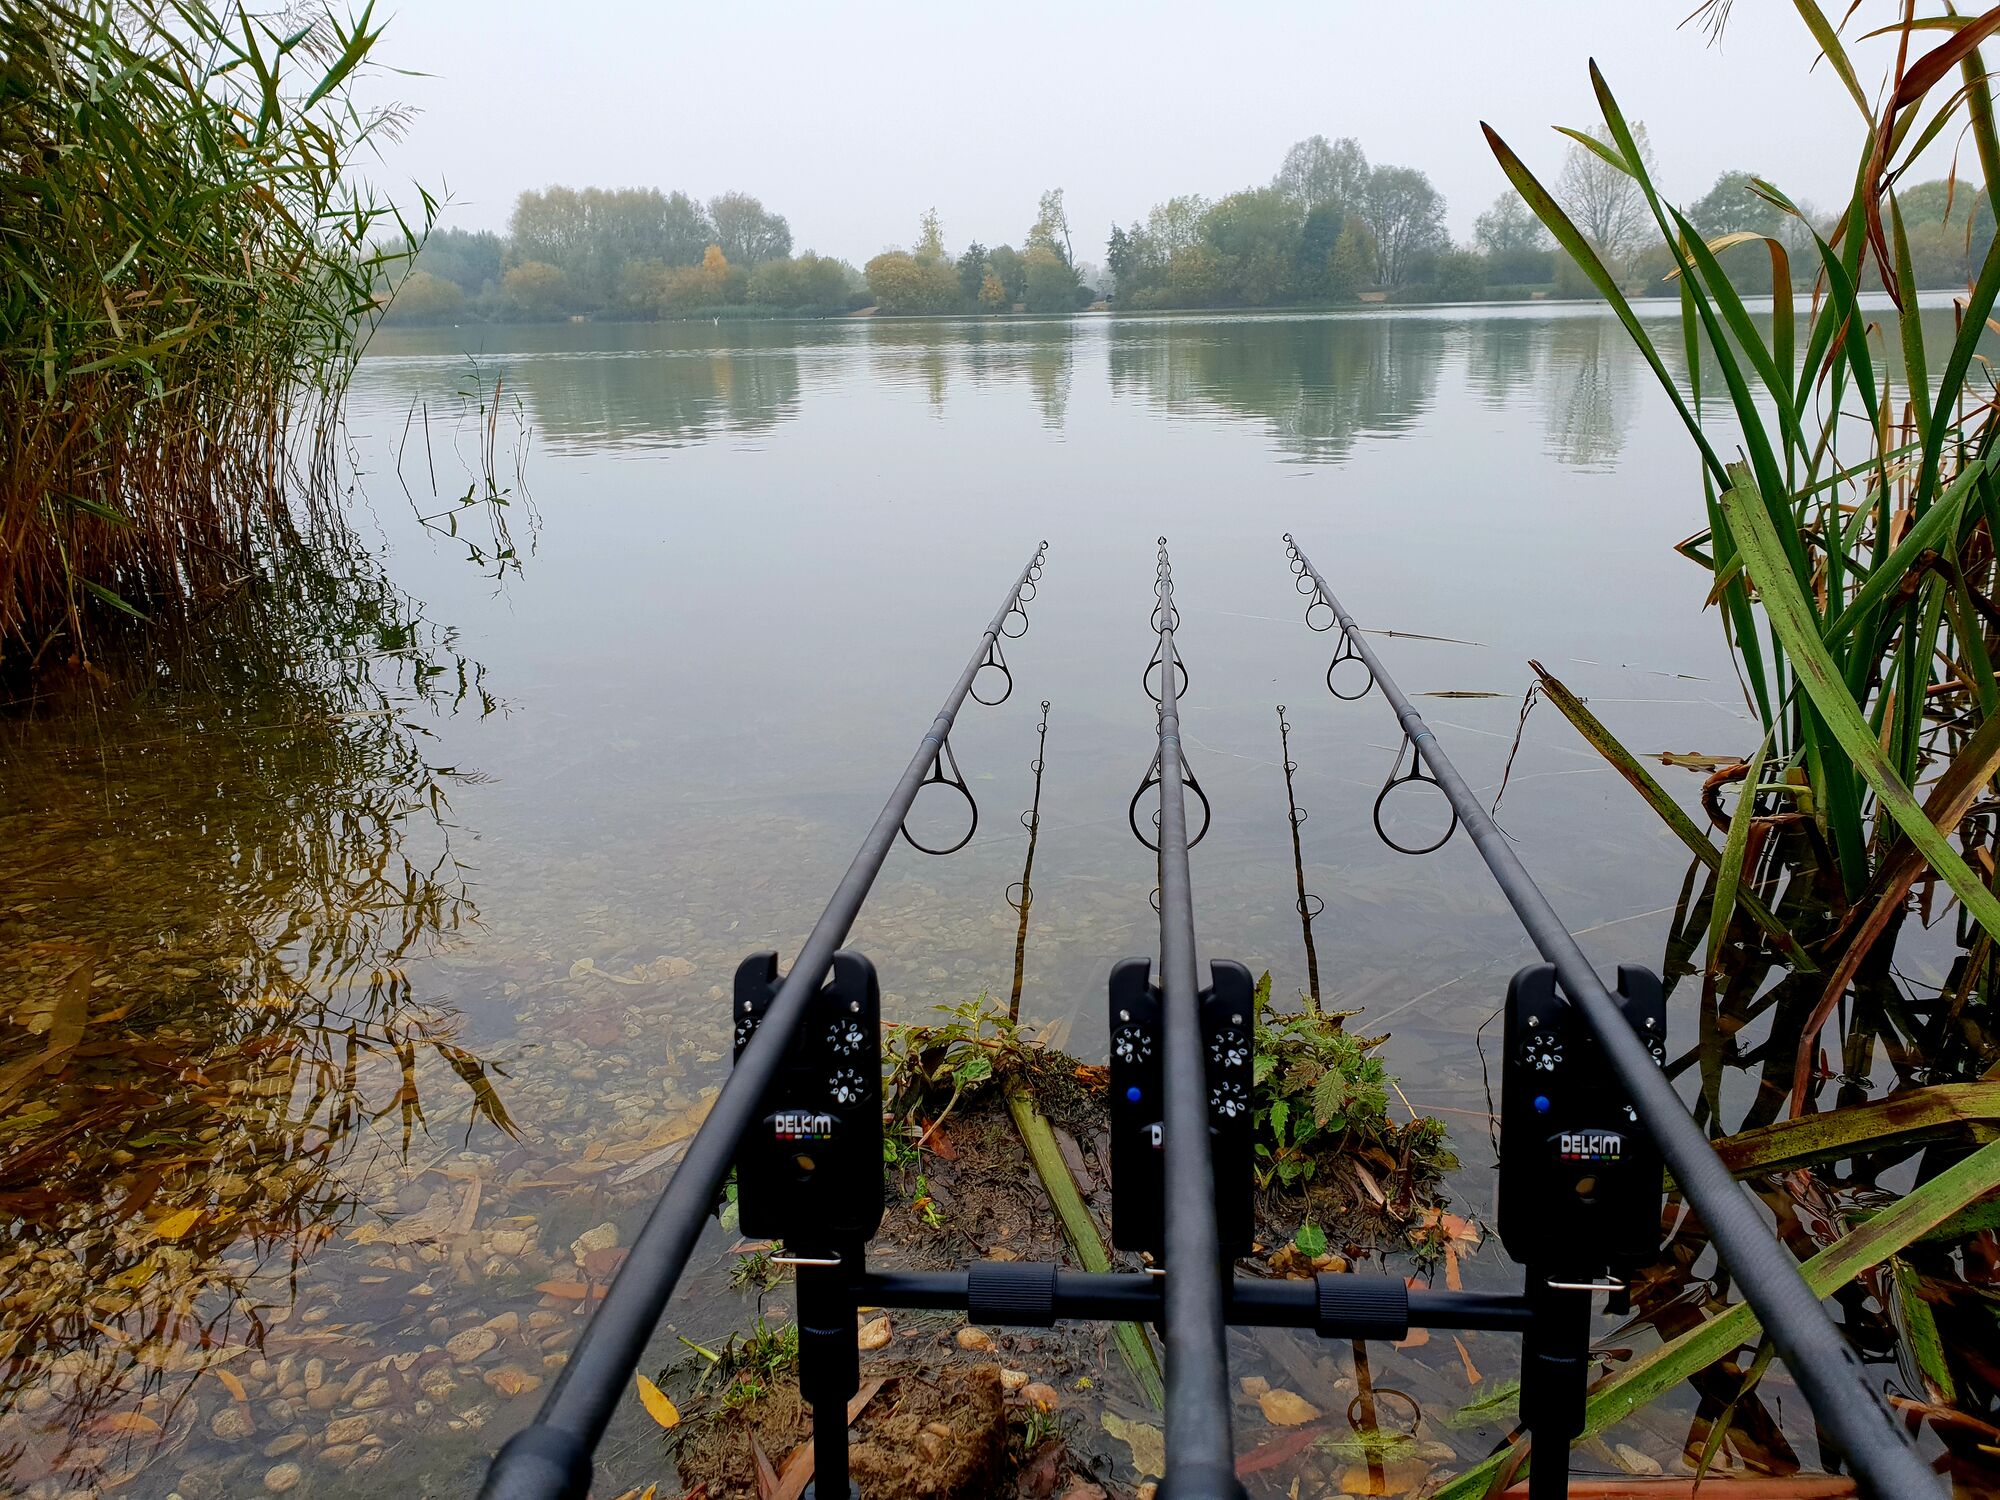
Carp Fishing for Beginners: The Complete Guide to Getting Started
Learn carp fishing for beginners with our complete guide. Discover the best carp fishing setup, techniques, and tips to catch carp successfully.
Carp ...
Read more
January 26, 2026
Carp Fishing for Beginners: The Complete Guide to Getting Started
Learn carp fishing for beginners with our complete guide. Discover the best carp fishing setup, techniques, and tips to catch carp successfully.
Carp ...
Read more
 October 21, 2025
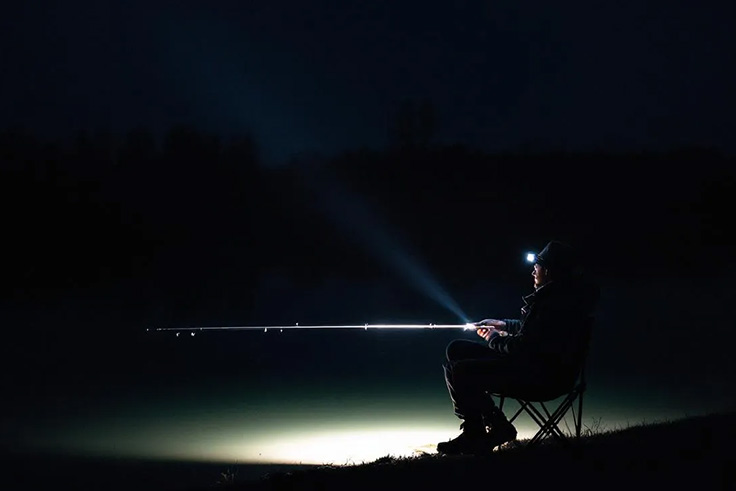
Night Fishing: Complete Guide to Fishing After Dark
Night fishing transforms your angling experience by targeting fish species during their most active feeding periods between sunset and sunrise. This ...
Read more
October 21, 2025
Night Fishing: Complete Guide to Fishing After Dark
Night fishing transforms your angling experience by targeting fish species during their most active feeding periods between sunset and sunrise. This ...
Read more
 August 26, 2025
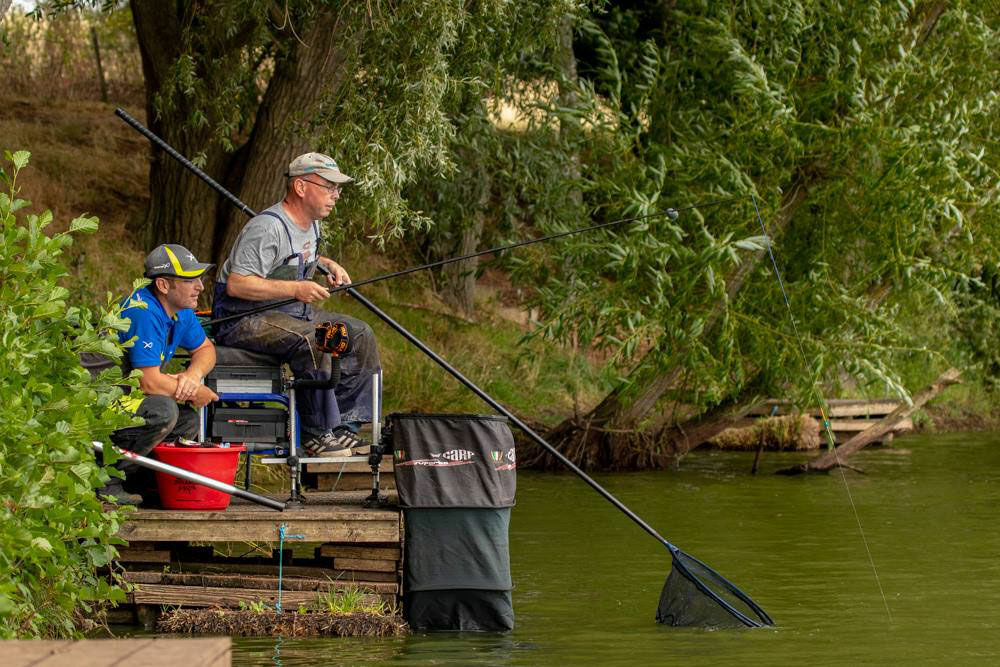
Pole Fishing Essentials: A Practical Guide for Anglers
Pole fishing is a precise angling method using a long pole instead of a rod and reel. Fishing poles are available up to 16m in length and can be ...
Read more
August 26, 2025
Pole Fishing Essentials: A Practical Guide for Anglers
Pole fishing is a precise angling method using a long pole instead of a rod and reel. Fishing poles are available up to 16m in length and can be ...
Read more
 March 06, 2025
Types of Fishing Knots: A Beginners Guide
Mastering the art of tying fishing knots is an essential skill for any angler, but how can you determine which knots are the best and how to tie them ...
Read more
March 06, 2025
Types of Fishing Knots: A Beginners Guide
Mastering the art of tying fishing knots is an essential skill for any angler, but how can you determine which knots are the best and how to tie them ...
Read more
 February 27, 2025
Types of Fishing Line: A Beginners Guide
Choosing the right fishing line is just as important as selecting the right bait when it comes to fishing. Whether you're focusing on carp, coarse, ...
Read more
February 27, 2025
Types of Fishing Line: A Beginners Guide
Choosing the right fishing line is just as important as selecting the right bait when it comes to fishing. Whether you're focusing on carp, coarse, ...
Read more
February 10, 2026
Guide to Carp Fishing in Winter: Tips and Tactics
Winter can be just as challenging as it is beautiful for carp anglers. While many anglers hang up their rods during the colder months, winter carp ...
Read more
January 26, 2026
Carp Fishing for Beginners: The Complete Guide to Getting Started
Learn carp fishing for beginners with our complete guide. Discover the best carp fishing setup, techniques, and tips to catch carp successfully.
Carp ...
Read more
October 21, 2025
Night Fishing: Complete Guide to Fishing After Dark
Night fishing transforms your angling experience by targeting fish species during their most active feeding periods between sunset and sunrise. This ...
Read more
August 26, 2025
Pole Fishing Essentials: A Practical Guide for Anglers
Pole fishing is a precise angling method using a long pole instead of a rod and reel. Fishing poles are available up to 16m in length and can be ...
Read more
March 06, 2025
Types of Fishing Knots: A Beginners Guide
Mastering the art of tying fishing knots is an essential skill for any angler, but how can you determine which knots are the best and how to tie them ...
Read more
February 27, 2025
Types of Fishing Line: A Beginners Guide
Choosing the right fishing line is just as important as selecting the right bait when it comes to fishing. Whether you're focusing on carp, coarse, ...
Read more

Andy Grenfell
Senior Sales Advisor